Introduction
Nintex forms are very useful and as explained in the link, they help us to create dynamic forms to capture and submit accurate and current data from anywhere.
PnP JS - Patterns and Practices JavaScript Core Library was created to help developers by simplifying common operations within SharePoint and the SharePoint Framework
This blog post explains how to use PnP JS in Nintex forms in particular the read operation. The similar concept can be used for other operations (create, update and delete).
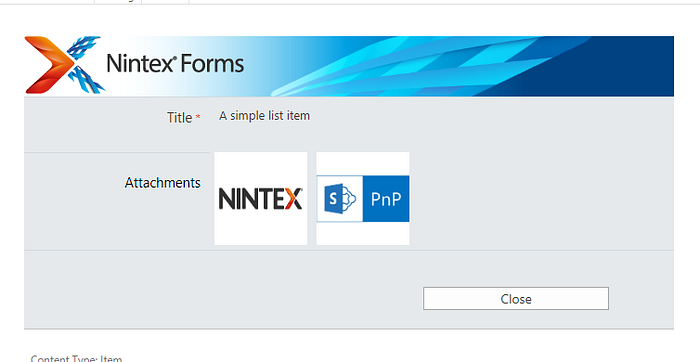
We will see how to retrieve attachments (images) of a list item using PnP JS and display them on the view form. The implementation shown here also uses sweetalert2 to show the image in a dialog. The end result is shown in the gif below.

The implementation is in SharePoint 2013 however, the same can be used in other versions (maybe with minor modifications).
Form Design
Create form
We start by creating a custom list (named as “SimpleList” here) with no extra columns. After that we create a basic Nintex form.

Add references
In order to add/refer PnP JS to the form, open form settings and expand the “Advanced” section and under “Custom Javascript” add the path of PnP JS (either the path in the CDN or if PnP JS is downloaded then path in the document library). For sweetalert, we add the path of the sweetalert js and the path of the CSS in the “Custom CSS” section.

All the JavaScript code that utilizes PnP JS and sweetalert will be in a custom JavaScript file (in this case form-controller.js). We add the path to that file as well in the “Advanced” JavaScript section.
So the above process is something like adding the required JS and CSS while creating a HTML file.
Attachments control
Now that all the references are sorted, we move onto the form design. By default Nintex adds an attachment control, we want to show that only in new mode and edit mode and we want a custom one in the display mode. The visibility of that can be controlled using rules. So we add the following rule to that attachment control.
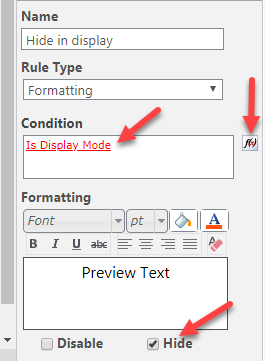
Is Display mode can be found in “Common tab” of the formula builder window.
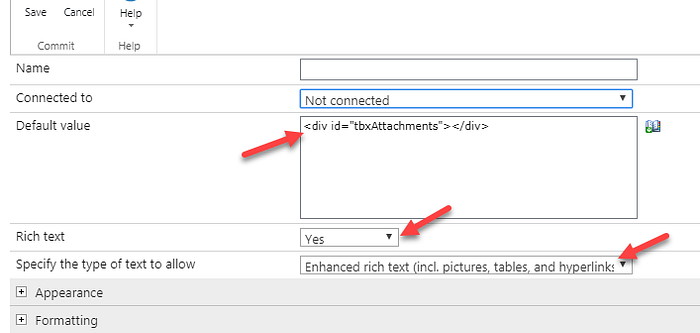
Rich text box for images
One way of displaying images in Nintex forms is by using a rich text box, adding a “div” element inside that and adding images to that div element using JavaScript — as explained in this article. We will be using that approach to display images. If there are other approaches, please let us know in the comments.
We add a rich text box and add a div element and set the type to “Enhanced rich text” as shown below.
We add a couple of rules one to disable the control always and the other one to hide in “New” or “Edit” mode.

Save and publish the form.
Code
That is it with respect to the design of the form. We now move on to the custom JavaScript. I have created a library called NintexScripts and have created an empty JavaScript file and renamed it to “form-controller.js”. The path to this (“ /NintexScripts/form-controller.js”)was what I added in the Nintex form earlier.
Complete code
The complete code can be found here and below are the details of the code.
Details of the code
In the JavaScript first thing that needs to be done on document ready is setting up PnP JS. We do that with the following code
After that we check if we are in display mode and call the showAttachments function.
In the showAttachments function, we get the id of the item from the URL and get the attachments of that item using the attachmentFiles.get() method in PnP JS.
Once we have the attachments, we loop through them and create an image element for each with the src attribute of the image as the relative URL (we get from PnP JS). We then append all the images to the “div” element of the rich text box.
We also add a click function to each image, so that clicking on each image opens the image in a nice dialog.
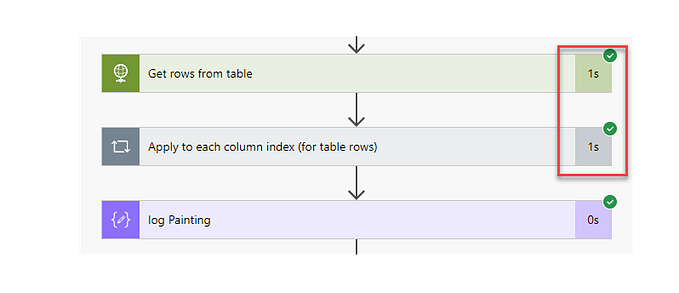
After creating an item, adding a couple of attachments and viewing the item brings back the attachments as shown below
As mentioned earlier this blog post explains the usage of PnP JS for read operation. Similar code can be used for other operations in other modes of the form.